Smart thermostats don’t have to blow your budget. The Meross Smart Thermostat delivers app control, voice integration, and energy scheduling at a fraction of the cost of big-name competitors. If you’re upgrading from a basic programmable model or finally ditching that old mercury switch, this guide walks you through what makes Meross worth considering, how to install it without calling an HVAC tech, and whether it’ll actually save you money on heating and cooling bills. No fluff, just what DIYers need to know before swapping out their old thermostat.
Table of Contents
ToggleKey Takeaways
- The Meross Smart Thermostat costs $60–$80 and supports HomeKit, Alexa, Google Assistant, and SmartThings with no subscription fees, making it one of the most affordable smart thermostat options available.
- Installation takes 20–30 minutes for DIYers with basic wiring skills, but the thermostat requires a C-wire for continuous power—check your existing system’s terminal labels (R, C, W, Y, G) before purchasing.
- Smart scheduling and geofencing automation can reduce heating and cooling costs by 8–10% annually, though real savings depend on your climate, insulation, and how consistently you use the device.
- The Meross thermostat connects exclusively to 2.4 GHz Wi-Fi networks and relies on cloud-based operation, meaning setup on dual-band routers requires temporary configuration and remote control stops if internet drops.
- This smart thermostat lacks learning algorithms, room sensors, and local control features found in premium competitors, making it best suited for budget-conscious homeowners who value basic remote access over advanced automation.
What Is the Meross Smart Thermostat and Why Should You Care?
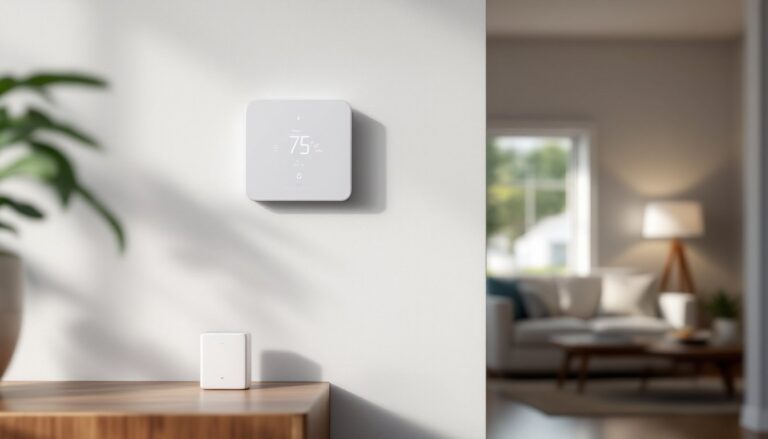
The Meross Smart Thermostat is a Wi-Fi-enabled HVAC controller designed for 24V heating and cooling systems, the standard in most North American homes. Unlike basic programmable thermostats, it connects to your home network and lets you adjust temperature remotely through an app or voice commands.
What separates Meross from pricier models like Nest or Ecobee is the price point. It typically retails between $60 and $80, making it one of the most affordable smart thermostats with genuine multi-platform support. You get Apple HomeKit, Amazon Alexa, Google Assistant, and SmartThings compatibility out of the box, no subscription fees, no hub required.
It works with most forced-air systems: gas furnaces, electric heat, central AC, and heat pumps (including multi-stage setups). It does not support line-voltage systems like baseboard heaters or proprietary equipment that requires a C-wire adapter. Check your existing thermostat’s wiring before ordering. If you see labeled terminals for R, C, W, Y, and G, you’re likely good to go.
For homeowners looking to modernize HVAC control without paying premium prices or signing up for ongoing services, Meross offers a straightforward entry point into smart home heating and cooling.
Key Features That Set Meross Apart from Other Smart Thermostats
Meross prioritizes compatibility and simplicity over flashy extras. Here’s what you’re actually getting:
Multi-Platform Voice and App Control
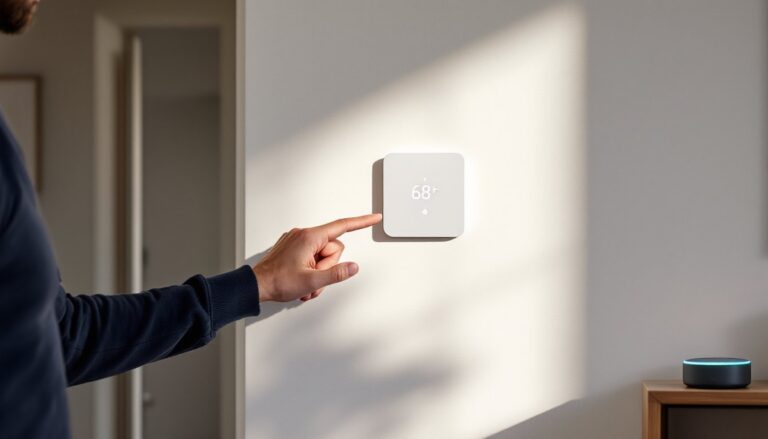
Unlike budget models that lock you into one ecosystem, Meross supports HomeKit, Alexa, Google Home, and SmartThings simultaneously. You can control it through Siri, Google Assistant, or Alexa without choosing sides. The Meross app (iOS and Android) handles scheduling, mode switching, and real-time adjustments.
Flexible Scheduling with 7-Day Programming
Set different temperature schedules for each day of the week. Most users create weekday and weekend profiles, lower temps overnight, warmup before waking, setback during work hours. The app lets you duplicate or adjust days individually.
Geofencing and Home/Away Modes
The thermostat can automatically switch to an energy-saving mode when your phone leaves a set radius, then resume your schedule when you return. This feature requires location permissions and works best for single-occupant homes or families that move together.
Real-Time Energy Reports
The app tracks daily and monthly runtime for heating and cooling cycles. It won’t calculate exact costs, but you can monitor trends and compare usage month-over-month.
No Subscription or Hub Required
Everything runs through your Wi-Fi router and the cloud-based Meross service at no recurring cost. The device requires a C-wire (common wire) for continuous power, most systems installed after 2000 have one. If yours doesn’t, you’ll need to add a C-wire adapter or hire an electrician.
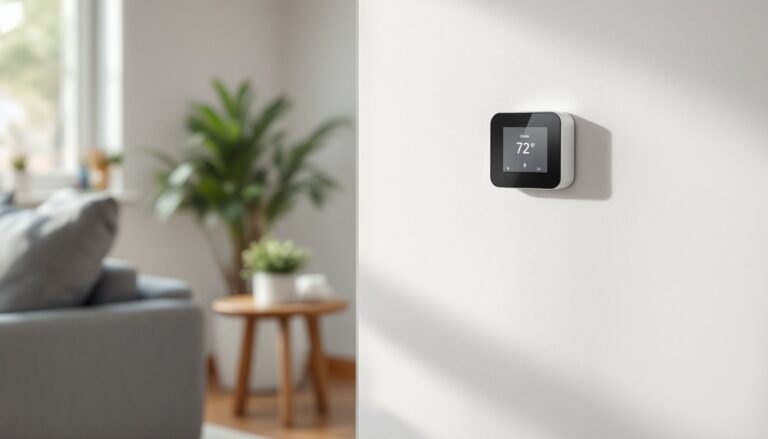
Backlit Touchscreen Display
The 3.5-inch color screen shows current temp, target temp, mode, and system status. It’s responsive but not as polished as premium models. The display dims automatically and wakes on touch or motion.
How to Install Your Meross Smart Thermostat: A DIY Step-by-Step Guide
Installing a Meross thermostat is straightforward for anyone comfortable with basic wiring. The entire job typically takes 20–30 minutes. Always turn off power at the breaker before touching any wires.
Tools and Materials You’ll Need:
- Flathead and Phillips screwdrivers
- Drill with 3/16-inch bit (if mounting to drywall without a stud)
- Wire labels or masking tape
- Level (optional but recommended)
- Voltage tester or multimeter
Step-by-Step Installation Process:
-
Turn off power to your HVAC system at the circuit breaker. Locate the breaker labeled “furnace,” “air handler,” or “HVAC” and flip it off. Confirm power is off by checking the old thermostat display.
-
Remove the old thermostat. Pull off the faceplate and unscrew the backplate from the wall. Most models use two screws at the top and bottom.
-
Label every wire before disconnecting. Use the included labels or masking tape. Standard terminals are:
- R or Rc (red): 24V power
- C (blue or black): common wire
- W or W1 (white): heating
- Y or Y1 (yellow): cooling
- G (green): fan
Multi-stage systems may also have W2, Y2, or O/B (heat pump reversing valve). The Meross supports up to two stages for heating and cooling.
-
Mount the Meross backplate. The backplate should cover the old wall marks. Use the built-in level indicator or a separate level to ensure it’s straight. Secure with the included screws. If mounting to drywall without hitting a stud, use drywall anchors.
-
Connect wires to matching terminals. Insert each wire into its labeled terminal on the Meross backplate. Push firmly until the wire seats, then gently tug to confirm it’s secure. The terminals are spring-loaded, no wire nuts or screws needed.
If you don’t have a C-wire: The Meross requires constant power. Options include running a new C-wire from your furnace (requires basic electrical knowledge), installing a C-wire adapter kit at the air handler, or hiring an HVAC tech. Don’t skip this, intermittent power causes Wi-Fi dropouts and system errors.
-
Attach the thermostat to the backplate. Align the thermostat with the backplate and press until it clicks into place.
-
Restore power at the breaker. The thermostat should boot up and display a setup screen.
-
Test system operation. Use the touchscreen to manually trigger heating, cooling, and fan modes. Listen for your furnace or AC to respond. If nothing happens, double-check wire connections and breaker status.
Permit and Code Notes:
Replacing a thermostat is generally considered maintenance, not a code-required alteration, so most jurisdictions don’t require a permit. But, running new low-voltage wiring or modifying your HVAC system may require inspection depending on local code. When in doubt, consult your local building department.
Setting Up the Meross App and Connecting to Your Smart Home
Once the thermostat is physically installed and powered on, you’ll configure it through the Meross app. Download it from the iOS App Store or Google Play and create a free account.
Initial App Setup:
-
Connect the thermostat to Wi-Fi. The app will guide you through selecting your home network and entering your password. The Meross thermostat uses 2.4 GHz Wi-Fi only, it won’t connect to 5 GHz bands. If your router broadcasts both, temporarily disable 5 GHz or ensure your phone is on the 2.4 GHz network during setup.
-
Name your thermostat. Use a clear label like “Living Room Thermostat” or “Main Floor HVAC.” This matters if you’re adding multiple devices or integrating with voice assistants.
-
Configure system type. The app asks whether you have heating only, cooling only, or both, and how many stages. Most single-family homes have single-stage heat and cool. Heat pumps typically require the O/B wire setting, consult your old thermostat or furnace manual if unsure.
-
Set temperature limits and preferences. You can define min/max temperature ranges (useful for preventing accidental extremes) and choose Fahrenheit or Celsius.
Smart Home Integration:
For Apple HomeKit, scan the QR code on the thermostat or backplate using the Home app. The device will appear as a thermostat accessory. You can then add it to rooms, scenes, and automations.
For Alexa or Google Assistant, enable the Meross skill in the Alexa app or link Meross in the Google Home app. Once linked, you can control the thermostat with voice commands like “Alexa, set thermostat to 68” or “Hey Google, what’s the temperature inside?”
For SmartThings, add the Meross device through the SmartThings app by searching for Meross in the device catalog. This integration allows broader home automation routines.
Scheduling and Geofencing:
Create your first schedule in the app by tapping “Schedule” and setting target temperatures for different times of day. The geofencing feature is under “Smart” settings, enable it and adjust the radius to fit your commute.
Independent reviews from sources like CNET and Digital Trends note that the app interface is functional but less polished than Nest or Ecobee. Expect occasional lag when refreshing status, and be aware that cloud dependency means no local control if your internet drops.
Energy Savings and Performance: What to Expect from Your Meross Thermostat
Smart thermostats promise energy savings, but the real impact depends on how you use them. The EPA estimates that a programmable thermostat can save homeowners around 8% on heating and cooling costs annually if properly configured. The Meross delivers comparable results without the premium price.
Where Savings Come From:
The biggest gains come from setback scheduling, lowering heat or raising cooling setpoints when you’re asleep or away. Setting your heat back 7–10°F for eight hours a day can cut heating costs by roughly 10%, according to Department of Energy guidelines. Cooling savings are similar.
Geofencing automates this process but works best for predictable schedules. If your routine varies or multiple people live in the home, manual scheduling may be more reliable.
Real-World Performance:
The Meross responds quickly to app commands and generally maintains setpoints within ±1°F. It lacks the learning algorithms found in higher-end models, so it won’t adapt automatically to your habits, you have to set it up. The absence of room sensors (available on Ecobee) means it only measures temperature at the thermostat location. If your HVAC system struggles with hot/cold spots, the Meross won’t compensate.
Runtime Reporting:
The app’s energy reports show daily and monthly HVAC runtime but don’t convert this to cost estimates. To calculate actual savings, you’d need to compare utility bills before and after installation, accounting for weather differences.
Testers at Tom’s Guide found the device reliable over several months but noted occasional Wi-Fi reconnection issues after router reboots or power outages. Firmware updates (delivered automatically through the app) have addressed some early bugs.
Best Practices for Maximizing Savings:
- Set realistic setback temperatures (65–68°F in winter, 78–80°F in summer).
- Use scheduled programming rather than constant manual adjustments.
- Enable geofencing if you have a consistent commute.
- Combine with other efficiency measures: seal ducts, upgrade insulation, and replace furnace filters regularly.
Don’t expect miracles. If your home is already well-insulated and you were using a programmable thermostat effectively, savings may be minimal. The real value is remote access and voice control, not dramatic utility bill drops.
Pros and Cons: Is the Meross Smart Thermostat Right for Your Home?
Pros:
- Affordable price point ($60–$80) with no subscription fees.
- Broad smart home compatibility: HomeKit, Alexa, Google, and SmartThings.
- DIY-friendly installation for anyone comfortable with basic wiring.
- Flexible scheduling and geofencing for automated energy savings.
- Multi-stage support for heat pumps and two-stage HVAC systems.
Cons:
- Requires a C-wire, no battery backup option. Homes without one need an adapter or electrician visit.
- 2.4 GHz Wi-Fi only, won’t connect to 5 GHz networks, which can cause setup headaches on dual-band routers.
- Basic app interface, functional but not as polished or responsive as premium competitors.
- No room sensors or learning features, you set schedules manually, and it only reads temperature at the wall unit.
- Cloud-dependent operation, if your internet goes down, remote control and automation stop working (manual touchscreen control remains).
- Occasional connectivity hiccups reported after power or router resets.
Who Should Buy It:
The Meross Smart Thermostat is ideal for budget-conscious homeowners with standard 24V HVAC systems who want remote control, voice integration, and basic scheduling without paying $200+ for a Nest or Ecobee. It’s a solid choice for DIYers comfortable with light electrical work and anyone already invested in Apple HomeKit, Alexa, or Google Assistant ecosystems.
Who Should Skip It:
If your home lacks a C-wire and you’re not willing to install one, look for a model with a built-in battery or power adapter. If you want advanced features like learning algorithms, occupancy sensing, or multi-room temperature balancing, spend more on a premium thermostat. And if you need 100% local control without cloud dependency, consider a Z-Wave or Zigbee model with a local hub.
Conclusion
The Meross Smart Thermostat delivers the essentials, remote control, voice integration, and flexible scheduling, at a price that won’t wreck your project budget. Installation is straightforward for anyone who’s swapped out a light fixture, and the multi-platform support means you’re not locked into one ecosystem. It won’t learn your habits or balance temperatures across rooms, but for most homes with standard HVAC systems, those features are nice-to-haves, not necessities. If you’re ready to modernize your heating and cooling without overspending, Meross is worth the upgrade.