The Honeywell Home T9 Smart Thermostat tackles one of the most common HVAC headaches: uneven heating and cooling across different rooms. Unlike traditional thermostats that read temperature from a single hallway location, the T9 uses wireless remote sensors to monitor conditions in the rooms you actually use. It’s a practical solution for homes with hot spots, cold bedrooms, or additions that never seem to match the rest of the house. This guide covers what makes the T9 different, how installation works, and whether it’s the right fit for your home’s heating and cooling system.
Table of Contents
ToggleKey Takeaways
- The T9 smart thermostat solves uneven heating and cooling by using up to 20 wireless remote sensors that monitor temperature and occupancy in different rooms instead of relying on a single hallway sensor.
- Installation is a straightforward 30–45 minute DIY project for most homeowners if a C-wire is available, and you can hire an HVAC professional for $100–$200 if you need additional wiring support.
- Smart focus modes allow the T9 to prioritize occupied rooms, average all rooms, or target specific rooms at set times, reducing energy waste in empty spaces.
- The T9 is most beneficial for homes with significant temperature variations between floors or wings, but it cannot fix underlying HVAC design problems like undersized ductwork or blocked vents.
- Compared to competitors like Ecobee and Google Nest, the T9 offers better multi-room temperature control at a lower price, though it lacks advanced learning algorithms and built-in smart speakers.
- Optimal sensor placement on interior walls 4–6 feet high and strategic sensor selection in frequently-used rooms maximize comfort and energy efficiency.
What Is the T9 Smart Thermostat and How Does It Work?
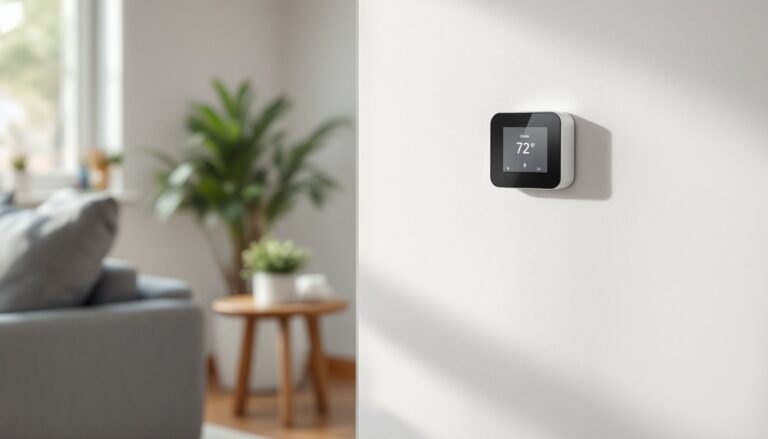
The Honeywell Home T9 is a Wi-Fi-enabled smart thermostat designed to work with remote temperature and occupancy sensors placed throughout your home. Rather than relying solely on the thermostat’s built-in sensor, which is often mounted in a hallway or on an exterior wall, the T9 pulls temperature readings from up to 20 wireless sensors.
Here’s how it operates: Each sensor communicates with the base thermostat unit via a proprietary wireless protocol. The sensors detect both temperature and motion (occupancy), and the thermostat uses this data to decide which rooms to prioritize. If you’ve set the system to focus on occupied rooms, it’ll adjust heating or cooling based on where people actually are. If everyone’s in the living room at 7 p.m., the T9 won’t waste energy trying to heat an empty bedroom.
The T9 is compatible with most 24-volt HVAC systems, including gas, oil, and electric forced-air furnaces, as well as central air conditioning and heat pumps (up to 3 heat/2 cool stages). It does not support line-voltage systems like electric baseboard heaters or some older systems without a C-wire. If your existing thermostat has only two wires (usually R and W), you’ll likely need to add a C-wire (common wire) or use a power adapter kit.
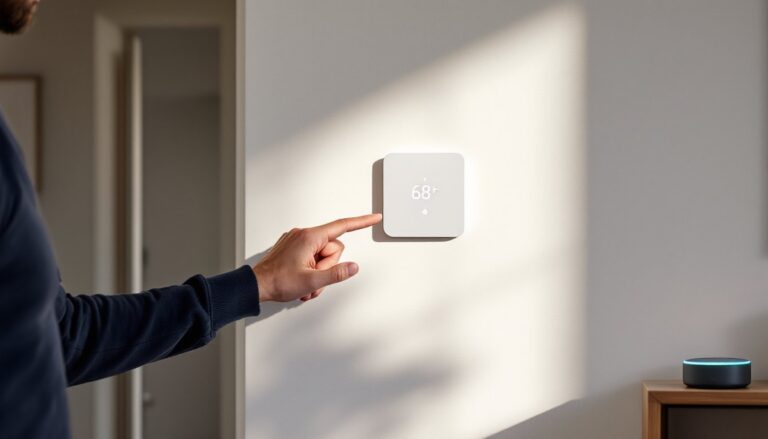
The system integrates with Amazon Alexa, Google Assistant, and Apple HomeKit, and can be controlled via the Honeywell Home app. Geofencing, scheduling, and energy usage reports are all standard.
Key Features That Set the T9 Apart
The T9 isn’t just another smart thermostat with an app. Its standout feature is the multi-room sensor system, which addresses real-world comfort issues that single-point thermostats can’t solve.
Smart focus modes let you choose how the system prioritizes rooms. In “Occupied” mode, it reads only from sensors detecting motion within the past 30 minutes. In “All Rooms” mode, it averages readings from every sensor. You can also manually select specific rooms to focus on during certain times of day, handy if you work from home and want the office warmed up by 8 a.m. but don’t care about the guest room until evening.
The T9 also offers geofencing, which uses your phone’s location to switch between home and away modes automatically. This works well if you have irregular schedules, though it requires the Honeywell Home app to stay running in the background.
Energy reports provide insight into runtime and efficiency, though they’re more informational than diagnostic. The system won’t tell you if your furnace filter is clogged, but it will show you how many hours your HVAC ran last month compared to the previous year.
Smart Room Sensors for Whole-Home Comfort
The T9 ships with one remote sensor included in the box. Additional sensors are sold separately, typically around $40 each. Each sensor is a small white unit (about 2 inches square) that runs on a single AA battery and lasts roughly one year.
Placement matters. Install sensors on interior walls or flat surfaces, about four to six feet off the floor, similar to where you’d mount a smoke detector. Avoid placing them near windows, exterior doors, or heat sources like lamps and electronics, which can skew readings.
The sensors have a 200-foot range in open air, but walls, metal ducts, and large appliances can reduce that. In most single-family homes, coverage isn’t an issue. In larger or multi-story homes, you may need to test placement to ensure reliable communication.
For homes with significant temperature swings between floors or wings, these sensors can make a real difference. But, they won’t fix underlying HVAC design issues, if your ductwork is undersized or your return vents are blocked, no thermostat will solve that.
Installing Your T9 Smart Thermostat: DIY or Professional?
Installing a T9 is a straightforward DIY project if you’re comfortable working with low-voltage wiring and your system already has a C-wire. Budget about 30 to 45 minutes for installation and initial setup.
Tools you’ll need:
- Small flathead screwdriver (for terminal screws)
- Phillips screwdriver (for mounting plate)
- Drill and level (if mounting on a new location)
- Smartphone or tablet (for app setup)
Step-by-step process:
- Turn off power at the breaker or furnace switch. Low-voltage wiring won’t shock you, but it’s good practice and prevents damage to the equipment.
- Remove your old thermostat and take a photo of the wiring before disconnecting anything. Label each wire with the terminal letter it’s connected to (R, W, Y, G, C, etc.).
- Check for a C-wire. This is typically a blue or black wire connected to the C terminal. If you don’t have one, you’ll need to either run a new wire from the furnace, use a plug-in power adapter, or install a C-wire adapter at the air handler (some HVAC systems have an unused wire bundled in the thermostat cable that can be repurposed).
- Mount the T9 base plate using the provided anchors and screws. Use a level, an off-kilter thermostat looks sloppy.
- Connect wires to the corresponding terminals on the T9. The terminal labels match standard HVAC wiring (Rh/Rc for power, W for heat, Y for cooling, G for fan, C for common). If you have a heat pump or multi-stage system, refer to the included wiring diagram.
- Snap the thermostat onto the base plate and restore power.
- Follow the on-screen prompts to connect to Wi-Fi and configure your system type.
When to call a pro: If your system lacks a C-wire and you’re not comfortable running new wire or installing an adapter, hire an HVAC tech. Expect to pay $100 to $200 for thermostat installation, less if bundled with a tune-up. Also, if your existing system uses proprietary controls (like some Carrier or Trane communicating systems), check compatibility first, the T9 may not work without an adapter.
Safety note: Always wear safety glasses if drilling into drywall or plaster, and use a stud finder to avoid hitting electrical wiring inside walls.
Setting Up and Optimizing Your T9 for Maximum Efficiency
Once installed, the T9 requires some configuration to work effectively. Out of the box, it functions like a standard programmable thermostat, but you’ll want to take advantage of its sensor features and scheduling.
Initial setup:
- Pair sensors by pressing the button on each sensor when prompted in the app. The T9 will detect each sensor within a few seconds. Assign each sensor a room name (bedroom, office, living room, etc.).
- Set focus preferences. Decide whether you want the system to prioritize occupied rooms, average all rooms, or focus on specific rooms at certain times. Most users find “Occupied” mode works best during the day and “All Rooms” at night.
- Create a schedule. The T9 allows multiple schedule periods per day. If your household has consistent routines, a schedule will save more energy than relying solely on geofencing.
Optimization tips:
- Use sensor placement strategically. Put sensors in rooms you actually use, not storage areas or rarely-occupied spaces. A sensor in a guest room that’s empty 90% of the time will pull your average temperature down unnecessarily.
- Adjust temperature setbacks gradually. Dropping the heat by 10°F overnight might save energy, but it also forces your furnace to run longer in the morning. A 3–5°F setback is usually a better balance.
- Monitor runtime data in the app. If your HVAC is running constantly, check air filters, vents, and thermostat placement. The T9 can’t fix mechanical issues, but it can help you spot them.
- Disable geofencing if it causes issues. Some users find geofencing unreliable if multiple people live in the home or if phones frequently disconnect from the app. A manual schedule is often more predictable.
One common mistake: placing too many sensors in small homes. If you live in a 1,200-square-foot ranch with open floor plan, two or three sensors are plenty. More sensors don’t automatically mean better comfort, they just give the thermostat more data points to average, which can dilute the readings from the rooms that matter most.
T9 vs. Other Smart Thermostats: Is It Right for Your Home?
The T9 fits a specific niche: homes with uneven heating or cooling where remote sensors make a practical difference. It’s not the flashiest smart thermostat, and it’s not the cheapest, but it solves a real problem.
Compared to the Ecobee SmartThermostat with Voice Control: The Ecobee ships with one sensor and includes Alexa built into the thermostat itself. It also has more refined scheduling and better third-party integrations. But, the T9 is often $50 to $75 less expensive and many users find the Honeywell Home app simpler to navigate. If you want a thermostat that doubles as a smart speaker, go Ecobee. If you just want solid multi-room temperature control, the T9 is the more straightforward choice.
Compared to the Google Nest Learning Thermostat: The Nest is sleeker and has better learning algorithms, but it doesn’t support remote sensors (the Nest Temperature Sensor is read-only and doesn’t detect occupancy). If you have a single-zone home with consistent temperatures, the Nest is a great option. If you have hot or cold spots, the T9’s sensors give it a clear advantage. Many smart thermostat comparisons highlight this distinction.
Compared to basic programmable thermostats: If your home has even temperature distribution and you’re on a tight budget, a $30 programmable thermostat will do most of what the T9 does. You lose app control, geofencing, and energy reports, but you also save $150+. The T9 makes sense when you have specific comfort issues that justify the cost.
Who should buy the T9:
- Homes with finished basements, second floors, or additions that are always too hot or cold
- Families with varying schedules who want occupancy-based heating and cooling
- Homeowners who want smart control without a steep learning curve
Who should skip it:
- Renters or anyone planning to move soon (you can take it with you, but installation twice isn’t ideal)
- Homes with line-voltage or single-stage systems incompatible with the T9
- Anyone who wants the most advanced scheduling and analytics, other platforms offer more granular control
Consider comparing features across brands before committing, especially if you’re already invested in a specific smart home ecosystem.
Conclusion
The Honeywell Home T9 isn’t the most advanced smart thermostat on the market, but it’s one of the most practical for homes with uneven temperatures. The remote sensor system works as advertised, installation is manageable for most DIYers, and the app is functional without being overcomplicated. If your second floor is always 10 degrees warmer than your main level or your home office never seems to match the rest of the house, the T9 offers a real solution.