The Google Smart Thermostat offers a practical entry point for homeowners looking to automate climate control without the complexity of higher-end systems. Designed to work seamlessly with the Google Home ecosystem, this device replaces traditional programmable thermostats with voice control, remote access, and energy-saving features. It’s not the flashiest option on the market, but it delivers solid performance at a price point that makes smart heating and cooling accessible. If you’re comfortable swapping out a light switch, you can handle the installation yourself, though some older HVAC systems may require a workaround or professional help.
Table of Contents
ToggleKey Takeaways
- The Google Smart Thermostat provides affordable smart climate control with voice commands, remote access, and energy scheduling at a price point around $100-130, making it an accessible alternative to premium options.
- Installation is DIY-friendly for most homes with 24V HVAC systems, taking 20-30 minutes, though homes lacking a C-wire may require professional help or a furnished adapter.
- Google Smart Thermostat users can expect 10-15% savings on heating and cooling costs annually, with actual results depending on HVAC efficiency, climate zone, and previous thermostat habits.
- The device integrates seamlessly with the Google Home ecosystem, enabling geofencing-based automation, voice control through Google Assistant, and routine scheduling without learning algorithms.
- Compatibility is limited to 24V systems like forced air, heat pumps, and radiant heating—high-voltage systems, proprietary multi-zone setups, and HomeKit-exclusive users should consider alternatives.
What Is the Google Smart Thermostat and How Does It Work?
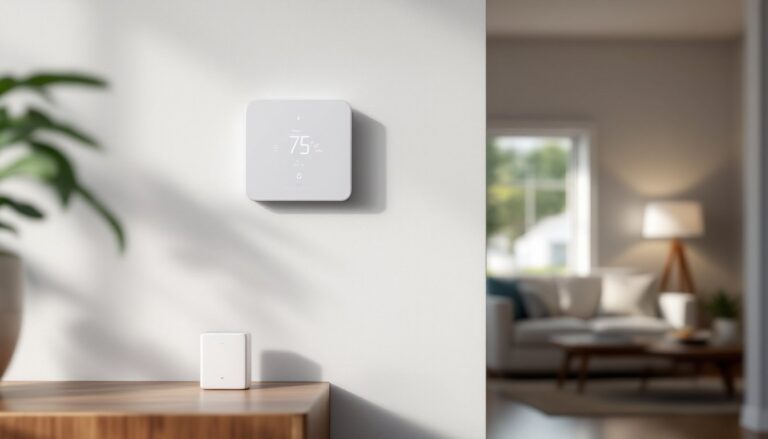
The Google Smart Thermostat is a Wi-Fi-enabled climate control device that replaces your existing wall-mounted thermostat. Unlike mechanical or basic programmable models, it connects to your home network and integrates with the Google Home app, allowing remote temperature adjustments from your phone, voice commands through Google Assistant, and automation based on schedules or occupancy.
Under the hood, the thermostat communicates with your HVAC system through low-voltage wiring, typically 18-24 AWG thermostat wire with anywhere from 2 to 10 conductors, depending on your system’s complexity. It draws power from a C-wire (common wire), which provides continuous 24V power. If your system lacks a C-wire, Google includes a power adapter kit in the box that piggybacks off your furnace’s transformer, though installation gets trickier and may warrant calling an HVAC tech if you’re not comfortable working around your furnace control board.
The device doesn’t “learn” your habits like the pricier Nest Learning Thermostat. Instead, it relies on schedules you create and geofencing through the Google Home app to adjust temps when you leave or return. It’s a straightforward approach that works well if you have consistent routines and don’t mind a little upfront setup.
Key Features That Make Google Smart Thermostat Stand Out
Energy Star certification comes standard, meaning the device meets EPA guidelines for energy efficiency. Google claims users can save an average of 10-12% on heating and 15% on cooling costs annually, though actual savings depend heavily on your previous thermostat habits and HVAC efficiency.
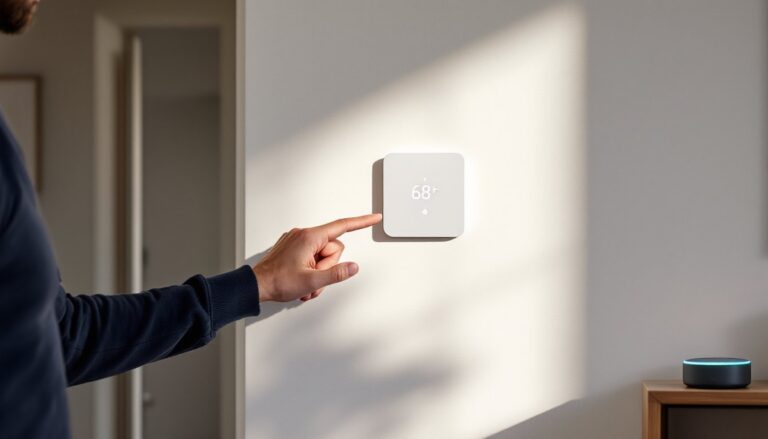
Voice control through Google Assistant lets you adjust temps hands-free, useful when you’re cooking, carrying groceries, or just don’t want to walk across the room. Commands like “Hey Google, set the thermostat to 68 degrees” work reliably, and you can also check current temps or change modes (heat, cool, heat-cool, off).
The Savings Finder feature analyzes your heating and cooling patterns and suggests small schedule tweaks to cut energy use without sacrificing comfort. It’s not aggressive about it, just occasional nudges in the app.
Remote access means you can adjust your thermostat from anywhere with cell service or Wi-Fi. Forgot to turn down the heat before a weekend trip? Handle it from the road.
The unit works with most 24V HVAC systems, including forced air, radiant, heat pumps (with or without auxiliary heat), and dual-fuel setups. It does not support high-voltage systems like electric baseboard heaters or 120/240V systems, and compatibility with some multi-stage or proprietary systems can be hit-or-miss. Google’s online compatibility checker is worth using before you buy.
Integration with other smart home devices creates routines, like lowering the temp when smart lights turn off at bedtime or adjusting climate settings based on data from a temperature sensor in another room.
Installing Your Google Smart Thermostat: A DIY-Friendly Process
Turn off power at the breaker before touching any wiring. Thermostats run on low voltage, but accidentally shorting wires or crossing the wrong terminals can damage your HVAC control board, a repair that’ll cost far more than the thermostat itself.
Tools and materials you’ll need:
- Phillips screwdriver
- Small flathead screwdriver or wire stripper
- Smartphone (for setup)
- Masking tape and pen (for labeling wires)
- Level (optional but helpful)
- The included Google Smart Thermostat mounting plate, trim kit, wire labels, and optional C-wire adapter
Step-by-step installation:
-
Remove the old thermostat. Pull off the faceplate and unscrew the base from the wall. Before disconnecting wires, label each one with the terminal letter it’s attached to (R, C, W, Y, G, etc.) using the included stickers or masking tape. Take a photo with your phone as backup.
-
Check for a C-wire. If you see a wire connected to the “C” terminal, you’re good to go. If not, you’ll need to install the included power adapter at your furnace. The adapter connects to the same terminal block as your existing thermostat wiring and provides the necessary 24V common. Instructions are in the box, but if you’re not comfortable opening your furnace panel and working around electrical components, this is the point to call a pro.
-
Install the mounting plate. Thread your labeled wires through the center opening and screw the plate to the wall, using anchors if you’re not hitting a stud. A level keeps things looking professional.
-
Connect the wires. Match each labeled wire to the corresponding terminal on the Google thermostat base. Push the wire fully into the terminal opening, it should click and hold without a setscrew. Give each wire a gentle tug to confirm it’s seated.
-
Attach the thermostat display. Snap it onto the mounting plate. The screen should light up once power’s restored.
-
Restore power at the breaker and verify your HVAC system powers on.
Most installs take 20-30 minutes if your system is straightforward. Adding the C-wire adapter can push it to 45 minutes or more, especially if your furnace is in a tight crawlspace or attic.
Setting Up and Configuring Your Thermostat Through the Google Home App
Download the Google Home app (iOS or Android) and create or sign in to your Google account. The app will detect the thermostat automatically once it’s powered on and connected to your Wi-Fi.
You’ll answer a few questions about your HVAC system, fuel type (gas, electric, oil, heat pump), whether you have cooling, number of heating and cooling stages, and whether you use auxiliary or emergency heat. These settings tell the thermostat which wires control which functions. If you labeled wires correctly during install, this process is straightforward.
Once configured, you can create heating and cooling schedules. Set different temps for morning, day, evening, and night, then copy the schedule across weekdays or customize each day individually. The interface is intuitive, drag time blocks to adjust when temp changes occur.
Geofencing uses your phone’s location to trigger Home and Away modes. When the last person leaves a set radius (usually your property or neighborhood), the thermostat switches to an energy-saving temp. When someone returns, it switches back to your comfort setting. This works well for households with predictable comings and goings but can be glitchy if you have spotty cell service or multiple people with different schedules.
You can also set up temperature presets for quick adjustments, “Sleep,” “Away,” “Vacation”, and trigger them with voice commands or automation routines that tie into other Google Home devices.
The app provides energy usage reports showing daily heating and cooling runtime, which helps you spot inefficiencies or confirm your new schedule is actually saving energy.
Energy Savings and Cost Benefits: What to Expect
Google’s 10-15% energy savings estimate assumes you’re upgrading from a non-programmable or poorly programmed thermostat. If you’re already diligent about adjusting temps manually or upgrading from another smart model, savings will be smaller.
Real-world savings depend on:
- Your HVAC system’s efficiency. A 20-year-old furnace with a 70% AFUE rating wastes energy no matter how smart your thermostat is. A modern 95% AFUE furnace or high-SEER heat pump amplifies any thermostat-driven savings.
- Your climate zone. Homes in regions with extreme winters or summers see bigger savings because heating and cooling represent a larger chunk of the energy bill.
- Your previous habits. If you left your old thermostat set to 72°F year-round, you’ll save a bundle. If you already practiced setback temps, the jump will be modest.
- Home insulation and air sealing. Even the best thermostat can’t overcome leaky windows, uninsulated attics, or ductwork that dumps conditioned air into your crawlspace.
At roughly $100-130 retail, the Google Smart Thermostat is one of the more affordable smart options. Many top smart thermostats in 2026 range from $150-250, making this a budget-friendly entry point. Payback period varies, but if you save $100-150 annually on energy, you’ll break even in the first year or two.
Some utility companies offer rebates for installing Energy Star thermostats, check your provider’s website or call to ask. Rebates can knock $25-75 off the purchase price, sweetening the deal.
Is the Google Smart Thermostat Right for Your Home?
This thermostat is a solid choice if you:
- Already use Google Assistant or have other Google Home devices and want seamless integration.
- Have a compatible 24V HVAC system (forced air, heat pump, or radiant).
- Want remote control and scheduling without paying premium prices.
- Are comfortable with basic DIY electrical work or willing to hire an HVAC tech for C-wire installation.
It’s not the best fit if:
- Your system is high-voltage (baseboard heaters, wall-mounted electric heaters). You’ll need a line-voltage thermostat instead.
- You have a proprietary or multi-zone HVAC setup that requires brand-specific controls.
- You want a thermostat that learns your habits automatically. The Nest Learning Thermostat does that, but costs significantly more.
- You’re on iOS and prefer HomeKit integration, this is a Google ecosystem product through and through.
Renters should check lease terms before installing. While the process is reversible (keep your old thermostat and reinstall it when you move), some landlords prohibit modifications to HVAC controls.
Compared to competing smart thermostats, the Google Smart Thermostat sacrifices learning algorithms and premium materials for affordability and simplicity. If you want something that “just works” without overthinking your daily routine, it delivers.
Conclusion
The Google Smart Thermostat strips away the complexity and cost of high-end climate control while delivering the core features most homeowners actually use, remote access, voice control, and straightforward scheduling. Installation is manageable for anyone who’s swapped out a light fixture, though older homes without C-wires add a wrinkle. Pair it with good insulation, an efficient HVAC system, and consistent habits, and you’ll see real savings on your energy bill without sacrificing comfort.