Installing a security camera used to mean drilling holes, running wires through walls, and sometimes calling an electrician. The Blink Outdoor 4 tosses that headache aside. This wireless camera system runs on batteries for up to two years, mounts in minutes with a bracket and two screws, and connects straight to your Wi-Fi without a hub cluttering your router shelf. Amazon owns Blink, so the ecosystem plays nicely with Alexa devices. For homeowners who want eyes on their driveway, backyard, or front porch without rewiring the house, this system delivers solid performance at a budget-friendly price point.
Table of Contents
ToggleKey Takeaways
- The Blink Outdoor 4 wireless smart security camera installs in minutes without drilling into walls or hiring an electrician, with battery life up to two years and direct Wi-Fi connectivity.
- Dual-zone motion detection reduces false alerts by roughly half compared to previous models, allowing you to monitor priority areas like walkways while ignoring passing traffic or neighborhood activity.
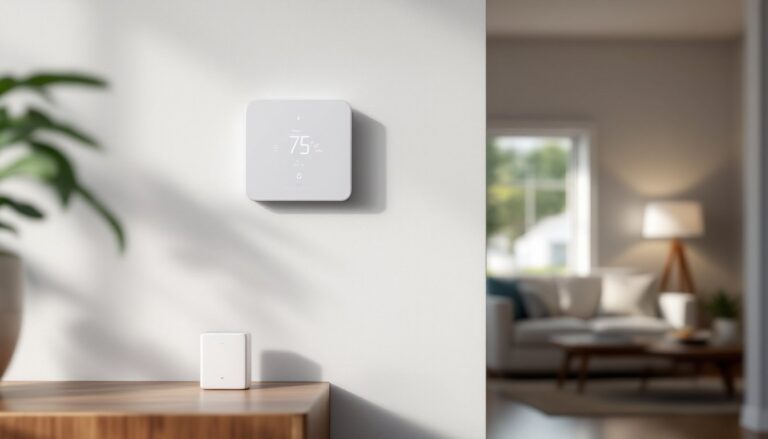
- 1080p HD video with a 143-degree field of view and infrared night vision up to 26 feet provide reliable identification of faces at 20 feet and license plates at 10 feet in daylight and darkness.
- The Blink Outdoor 4 costs around $100 per camera with optional cloud storage ($3–$10/month) or free local storage via Sync Module 2, delivering better value than competing Ring and Arlo systems.
- Real-world performance features 3–5 second motion detection lag, 4–6 second live view load time, and two-way audio suitable for brief commands like package delivery instructions.
- Cold weather below 32°F reduces battery life by 30–50 percent, so plan for more frequent battery replacements in winter climates and use stainless steel hardware in coastal areas.
What Makes the Blink Outdoor 4 Stand Out in Smart Security
The Blink Outdoor 4 separates itself from older Blink models and competitors with a few practical upgrades. First, it drops the separate Sync Module 2 requirement for most users, the camera connects directly to Wi-Fi, though you can still add a Sync Module for local storage or multi-camera setups. That cuts setup time and one more gadget on your network.
Dual-zone motion detection is the standout feature. Previous Blink cameras triggered on anything that moved in frame, waving branches, passing cars, stray cats. The Outdoor 4 lets users draw two separate detection zones in the Blink app, so you can monitor the walkway without getting alerts every time a neighbor walks their dog on the sidewalk. This feature alone reduces false alerts by roughly half in typical suburban settings.
The camera uses two AA lithium batteries (included) and claims up to two years of life based on default settings: about 10 clips per day at 10 seconds each. Real-world battery life depends heavily on motion frequency, ambient temperature, and live view usage. Cold weather under 32°F drains batteries faster, lithium chemistry doesn’t love freezing temps, so expect shorter life in winter climates.
1080p HD video with a 143-degree diagonal field of view covers a standard single-car driveway or porch without blind spots. The lens isn’t 4K, but for identifying faces at 20 feet or reading a license plate at 10 feet in daylight, it’s plenty. The camera records in a 16:9 aspect ratio, which plays back smoothly on phones and tablets.
Key Features and Technical Specifications
The Blink Outdoor 4 measures 2.36 inches wide by 2.83 inches tall and weighs 4.83 ounces with batteries installed. The housing is rated IP65 for weather resistance, that means it handles rain, sleet, and dust but shouldn’t sit submerged. Mount it under an eave or soffit for best longevity. Operating temperature range runs from -4°F to 113°F, suitable for most U.S. climates except extreme desert or Arctic conditions.
Two-way audio uses a built-in microphone and speaker. Quality is functional, you can tell a delivery driver to leave a package by the door or shoo away a raccoon, but don’t expect studio-grade clarity. There’s a noticeable half-second lag, typical for Wi-Fi cameras.
The camera supports 2.4 GHz Wi-Fi only (802.11b/g/n). No 5 GHz band support, which limits placement if your router is far away or walls are thick. Range tops out around 100 feet in open air: expect half that through framed walls with insulation. A Wi-Fi extender solves most range issues.
Cloud storage requires a Blink Subscription Plan (more on pricing below). Without a subscription, you get live view and motion alerts but no saved clips. Adding a Sync Module 2 with a USB flash drive (up to 256 GB, not included) enables free local storage, a solid choice for DIYers who prefer control over their footage.
Enhanced Night Vision and Video Quality
Infrared night vision illuminates up to 26 feet in complete darkness. The camera switches automatically at dusk using a light sensor. Image quality drops to grayscale at night, standard for IR cameras, but detail remains sharp enough to identify a person’s build and clothing at 15 feet.
One upgrade over the Outdoor 3: the 850nm infrared LED array is brighter and throws a wider cone of light. Side angles stay visible instead of fading to black. This makes a noticeable difference on wider driveways or corner mounts.
Daylight video holds up well in varied lighting. The sensor adjusts exposure decently in partial shade or overcast conditions. Direct backlight, like someone standing in front of a bright garage door, can blow out faces, but that’s common across cameras in this price range. High-motion scenes (running kids, fast-moving cars) show slight blur due to the fixed 15 fps frame rate, but it’s rarely an issue for typical security footage.
Setting Up Your Blink Outdoor 4 System
Installation takes about 15 minutes per camera if you’re mounting to wood siding or trim. Here’s the process:
Tools and materials you’ll need:
- Phillips screwdriver (manual or cordless drill with Phillips bit)
- Pencil for marking screw holes
- Level (a torpedo level or smartphone app works)
- Ladder if mounting above 7 feet
- Masonry bit and anchors if mounting to brick, stucco, or concrete
Step-by-step installation:
-
Download the Blink Home Monitor app (iOS or Android) and create an account. The app walks through initial setup and Wi-Fi pairing.
-
Insert the two AA lithium batteries into the camera. The status LED blinks blue when ready to pair.
-
Pair the camera by scanning the QR code on the back or entering the serial number. The app searches for the camera and connects it to your 2.4 GHz network. This step fails if your phone is on 5 GHz, temporarily switch to 2.4 GHz in phone settings.
-
Test placement before drilling. Hold the camera where you plan to mount it and check the live view in the app. Adjust angle to cover your target area and confirm Wi-Fi signal strength (three bars minimum for reliable performance). Studies on smart camera placement show corner mounts capture more area than center mounts.
-
Mark and drill screw holes using the included mounting bracket. The bracket has two keyholes for #6 screws (included). For wood, drive screws directly into siding or a stud. For masonry, drill pilot holes with a 3/16-inch masonry bit, tap in plastic anchors, then drive screws.
-
Attach the camera to the bracket by sliding it onto the mount. The ball joint allows 360-degree rotation and 90-degree tilt. Tighten the thumbscrew to lock the angle.
-
Set motion detection zones in the app. Draw two zones over the live view preview, one for high-priority areas (walkway, door) and one for secondary coverage (street, yard). Adjust sensitivity from 1 (least sensitive) to 9 (most sensitive). Start at level 5 and tweak based on false alerts.
Safety note: Use a fiberglass or aluminum ladder on level ground. Have a second person steady the ladder if mounting above 10 feet. Wear safety glasses when drilling overhead.
Permit and code considerations: Security cameras are cosmetic installations in most jurisdictions and don’t require permits. If you’re running power (not applicable here) or drilling into load-bearing masonry, check local building codes. Always respect neighbor privacy, avoid angling cameras directly into adjacent yards or windows.
Real-World Performance: What Homeowners Need to Know
Motion detection lag averages 3 to 5 seconds from trigger to notification. That’s typical for cloud-based cameras but means you’ll catch the tail end of quick events, someone jogging past won’t appear until they’re halfway across the frame. Person detection (available with subscription) reduces false positives from animals and cars but doesn’t eliminate them entirely.
Live view takes 4 to 6 seconds to load when opened from the app. Streaming maxes out at 60 seconds per session to conserve battery, though you can extend it in increments. Continuous live viewing drains batteries quickly, if you need 24/7 monitoring, consider a wired camera instead.
Two-way audio works for quick exchanges but isn’t ideal for conversations. The speaker volume is adequate at 10 feet but fades beyond that. Wind noise overwhelms the microphone in breezy conditions.
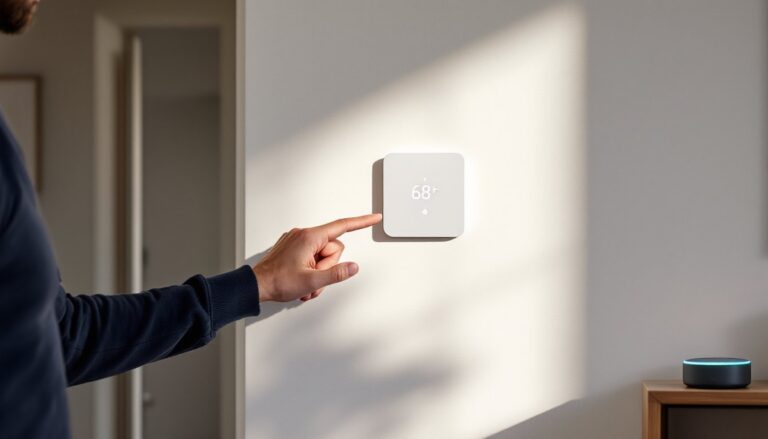
Integration with Amazon Alexa is seamless. Voice commands like “Alexa, show the front door camera” pull up live view on Echo Show devices. You can also arm/disarm the system by voice or through Alexa Routines. No Google Assistant or Apple HomeKit support as of 2026.
Battery Life and Weather Resistance
Battery performance varies widely based on usage. In a low-traffic area (5 clips per day, minimal live view), batteries can stretch to 24 months. High-traffic locations (30+ clips per day, frequent live view checks) drain batteries in 6 to 8 months. Cold weather under 32°F cuts life by 30 to 50 percent, lithium cells lose capacity in freezing temps.
Replacement batteries cost roughly $8 for a four-pack of Energizer or Duracell lithium AAs. Avoid alkaline batteries, they leak in outdoor conditions and void the warranty. Rechargeable NiMH batteries work but last half as long per charge.
Weather testing shows the IP65 housing holds up through heavy rain and snow. Moisture doesn’t penetrate the battery compartment or lens. But, mounting hardware (screws and bracket) can rust in coastal or high-humidity climates. Swap in stainless steel screws (≈$3 for a 10-pack) if you’re within 10 miles of saltwater.
Direct sunlight doesn’t harm the camera, but the black housing can heat up to 130°F in summer, which may shorten internal component life over several years. Mounting under an eave or in partial shade extends longevity. Detailed assessments from independent reviewers confirm the camera performs reliably across varied conditions.
Pricing, Subscription Plans, and Value Comparison
The Blink Outdoor 4 retails for around $100 for a single camera or $200 for a three-camera kit as of April 2026. Prices fluctuate during Amazon sales events (Prime Day, Black Friday) when kits drop to $140 to $160.
Blink Subscription Plans unlock cloud storage and advanced features:
- Blink Basic Plan: $3/month per camera or $30/year. Includes 60 days of cloud storage, person detection, and clip sharing.
- Blink Plus Plan: $10/month or $100/year for unlimited cameras at one location. Same features as Basic but covers all devices.
Without a subscription, users get live view, two-way audio, and motion alerts, but no saved clips. Adding a Sync Module 2 ($35) with a USB drive enables free local storage, though you lose remote access to clips when away from home.
Compared to competitors: the Ring Stick Up Cam Battery costs $100 per camera with similar specs but requires a $4/month Ring Protect plan per camera. The Wyze Cam Outdoor v2 runs $60 but has a smaller battery (6-month life) and less robust weatherproofing. The Arlo Essential offers 2K video and better night vision but costs $130 per camera and $5/month for cloud storage. Resources at CNET provide side-by-side comparisons for different budgets.
The Blink Outdoor 4 hits a value sweet spot: lower upfront cost than Arlo or Ring, optional free local storage, and battery life that beats most wireless competitors. It won’t replace professional-grade wired systems, but for DIY-friendly perimeter monitoring on a budget, it’s tough to beat.