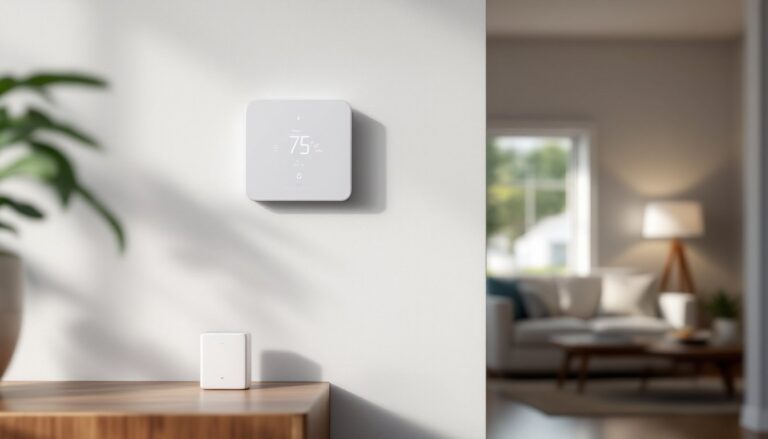
Nothing ruins a Monday morning faster than your Kwikset smart lock beeping angrily at you before it dies completely. Most homeowners don’t think about their smart lock batteries until that low-battery chirp starts, or worse, until they’re locked out. The good news? Changing batteries in a Kwikset smart lock is one of the simplest maintenance tasks you’ll do all year, and it takes less than three minutes once you know the process. This guide walks through exactly when to replace batteries, what you’ll need, and the step-by-step process for every major Kwikset model.
Table of Contents
ToggleKey Takeaways
- Kwikset smart lock batteries typically last 8–12 months and should be replaced immediately when you notice a low-battery chirp, red keypad flash, or app notification to avoid being locked out.
- Always replace all four AA alkaline batteries at once with name-brand options like Duracell or Energizer, never mixing old and new batteries or using rechargeable batteries that provide insufficient voltage.
- The Kwikset smart lock battery change process takes under three minutes and requires only four AA alkaline batteries and possibly a Phillips-head screwdriver, with the entire procedure happening on the interior side of your door.
- Follow the correct polarity pattern when installing batteries (typically alternating positive and negative ends), press each battery firmly into place, and test the lock immediately by entering your user code and checking app connectivity if applicable.
- Keep a backup set of batteries in a drawer near your door and set a calendar reminder to check battery status every 8–10 months to prevent unexpected lock failures and corrosion issues.
How Often Should You Replace Kwikset Smart Lock Batteries?
Most Kwikset smart locks run on four AA alkaline batteries and last between 8-12 months under normal use. That estimate assumes around 10 lock/unlock cycles per day, fewer if you’re using physical keys frequently, more if you’ve got kids punching codes every time they come home.
Several factors shorten battery life faster than average. Extreme temperatures (below 32°F or above 100°F) drain batteries quicker. If your lock is on a north-facing door or gets direct afternoon sun, expect the lower end of that range. Wi-Fi-enabled models like the Kwikset Halo consume more power than Bluetooth-only versions because they maintain a constant connection to your home network.
Don’t wait for the lock to die completely. Kwikset locks give you advance warning through a few signals. You’ll hear a chirping beep when you unlock the door, the keypad may flash red instead of green, and most models connected to apps will send a low-battery notification to your phone. Replace batteries as soon as you notice any of these signs.
One often-overlooked detail: replace all four batteries at once, even if only one appears dead. Mixing old and new batteries causes uneven discharge rates, which can lead to corrosion or premature failure. And always use alkaline batteries, not rechargeable NiMH batteries. Rechargeable batteries have a lower voltage (1.2V vs. 1.5V) and won’t provide consistent performance in Kwikset locks.
What You’ll Need for the Battery Replacement
This is one of the few home projects where the materials list is shorter than your grocery list. Here’s what you’ll need:
Materials:
- Four AA alkaline batteries (Duracell, Energizer, or Kirkland brand all work fine, just avoid off-brand batteries from dollar stores)
- A small Phillips-head screwdriver (only for some models: most Kwikset locks have tool-free battery covers)
Optional but Recommended:
- A clean, dry cloth to wipe down the battery compartment
- Your phone with the Kwikset app open (if you have a connected model) to confirm reconnection after the swap
That’s it. No special tools, no ladder, no second pair of hands. The entire process happens on the interior side of your door, so you’re never working outside or dealing with the deadbolt mechanism itself.
One note on battery choice: stick with name-brand alkaline batteries. Off-brand batteries have inconsistent discharge curves and are more prone to leaking, which can corrode the battery contacts inside your lock. That $2 you save on batteries could cost you a $200 lock replacement if corrosion damages the circuit board. Many smart home technology experts recommend keeping a backup set of batteries in a drawer near your door so you’re never caught unprepared.
Step-by-Step: Changing Batteries in Your Kwikset Smart Lock
Locating and Removing the Battery Cover
The battery compartment is always on the interior side of the door, the side with the thumb turn or touchscreen panel. Look at the bottom edge of the lock body. You’ll see either a rectangular cover secured by a single screw or a slide-off panel with no tools required.
For tool-free models (including most SmartCode 914, 916, and Halo models), locate the small tab or grooved edge at the bottom of the cover. Press the tab inward or slide the cover downward while applying slight outward pressure. The cover should pop free easily. If it resists, don’t force it, check for a small screw you might have missed.
For screw-secured models, use a Phillips-head screwdriver to remove the single screw at the bottom center of the cover. The screw is short (about 1/2″) and threads into plastic, so don’t overtighten when you reinstall it later. Once the screw is out, the cover will lift straight off.
Before removing the old batteries, take a quick look at the battery compartment. If you see any white crusty buildup or greenish corrosion around the contacts, that’s battery acid leakage. Wipe it away with a dry cloth. For stubborn corrosion, a cotton swab dipped in white vinegar works, but make sure everything is completely dry before installing new batteries. Corrosion is a sign your batteries were left in too long, another reason to change them at the first low-battery warning.
Note the orientation of the old batteries before removing them. Most Kwikset locks use an alternating pattern: two batteries with the positive end up, two with the positive end down. Some models have a diagram embossed inside the battery compartment.
Installing New Batteries Correctly
Remove all four old batteries and set them aside for recycling. Don’t mix them with your new batteries, even if one or two seem fine, they’re all at the end of their useful life.
Install the new batteries following the polarity diagram inside the compartment. The positive (+) terminals are the raised button ends: the negative (−) terminals are flat. Most Kwikset models use this pattern: battery 1 (positive up), battery 2 (positive down), battery 3 (positive up), battery 4 (positive down). If you’re unsure, the diagram inside the lock is your source of truth, not this guide.
Press each battery firmly into place. They should sit flush in their slots with no gaps. If a battery isn’t fully seated, the lock may not power on or may show intermittent errors.
Once all four batteries are in, replace the battery cover. For slide-on covers, align the top edge first, then press the bottom until it clicks. For screw-secured covers, align the cover and replace the screw, snug it down but don’t crank on it. Over-tightening can strip the plastic threads.
As soon as the cover is back on, the lock should power up. You’ll hear a beep and see the keypad light up briefly. On models like the Kwikset SmartCode 916, the touchscreen will illuminate and display a green checkmark if everything is working correctly.
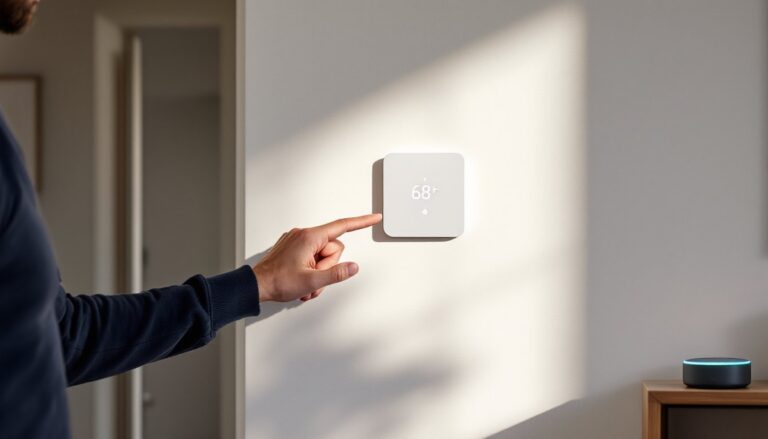
Test the lock immediately. Enter your user code on the keypad and verify the deadbolt retracts. Lock it again using the keypad. If you have a connected model, open the app and confirm the lock shows as online. Some Wi-Fi models take 30-60 seconds to reconnect after a power cycle.
If the lock doesn’t power on, remove the battery cover and check two things: polarity (did you install any batteries backward?) and seating (are all four batteries pressed fully into their slots?). If it still doesn’t work, try a different set of batteries, occasionally a brand-new battery is defective.
Troubleshooting Common Battery Issues
Lock powers on but doesn’t accept codes: First, try your master code or a known working code. If none work, you may have inadvertently triggered the security lockout feature by entering too many incorrect codes. Kwikset locks disable the keypad for 60 seconds after multiple failed attempts. Wait a full minute, then try again.
Lock works intermittently or powers off randomly: This usually points to poor battery contact. Remove the batteries and inspect the metal contacts inside the compartment. If they’re corroded, clean them with a cotton swab and white vinegar, then dry thoroughly. Also check the batteries themselves, the negative terminals should be clean and flat. If one battery has a dented or corroded end, replace all four.
New batteries die within days or weeks: If fresh batteries drain quickly, you’ve got a deeper issue. Cold weather (below 20°F) can cause batteries to report low voltage even when they’re functional, bring the lock back to room temperature and it may recover. But if batteries die fast in moderate temperatures, the lock’s circuit board may be drawing excessive current due to a hardware fault. That’s a warranty issue. Contact Kwikset support before you buy your third set of batteries in a month.
Keypad lights flash red after battery change: On most Kwikset models, a flashing red keypad indicates low battery even after replacement. This happens if you used rechargeable batteries (1.2V) instead of alkaline (1.5V), or if one of the new batteries is defective. Swap in a fresh set of quality alkaline batteries.
Connected models won’t reconnect to Wi-Fi after battery change: This is common with the Kwikset Halo and similar models. The lock should auto-reconnect within 60 seconds, but if it doesn’t, open the Kwikset app and manually refresh the device status. If it still shows offline, restart your Wi-Fi router and check that your home network is functioning. Many smart home device reviews note that Wi-Fi locks are sensitive to router placement, if your router is far from the door, weak signal can cause connection issues.
Lock beeps continuously after battery installation: A continuous beep usually means the door isn’t fully closed or the deadbolt isn’t aligned with the strike plate. Close the door firmly and test again. If it still beeps, the lock may be in programming mode, press and hold the program button (usually on the interior assembly) for 10 seconds to reset it.
Conclusion
Swapping batteries in a Kwikset smart lock is straightforward once you’ve done it the first time. Set a calendar reminder to check battery status every 8-10 months, keep a spare set of alkaline batteries on hand, and replace them at the first low-battery warning. Those three habits will keep you from ever standing on your porch waiting for a locksmith.